

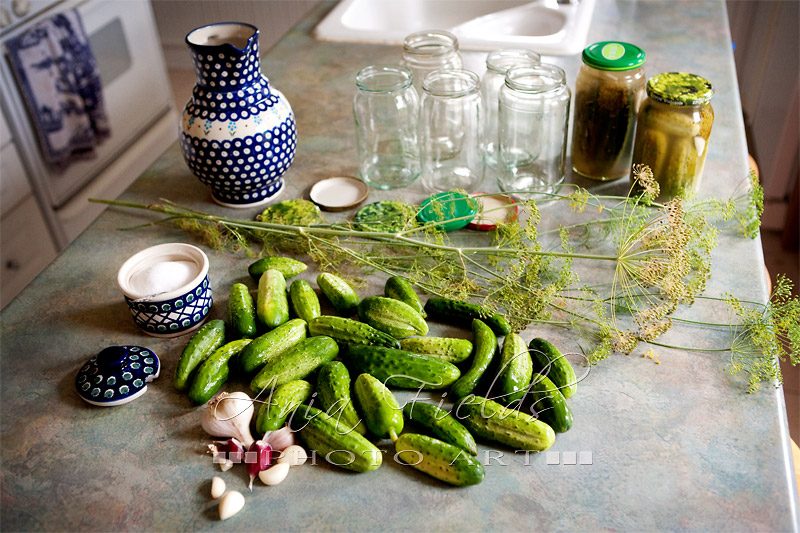
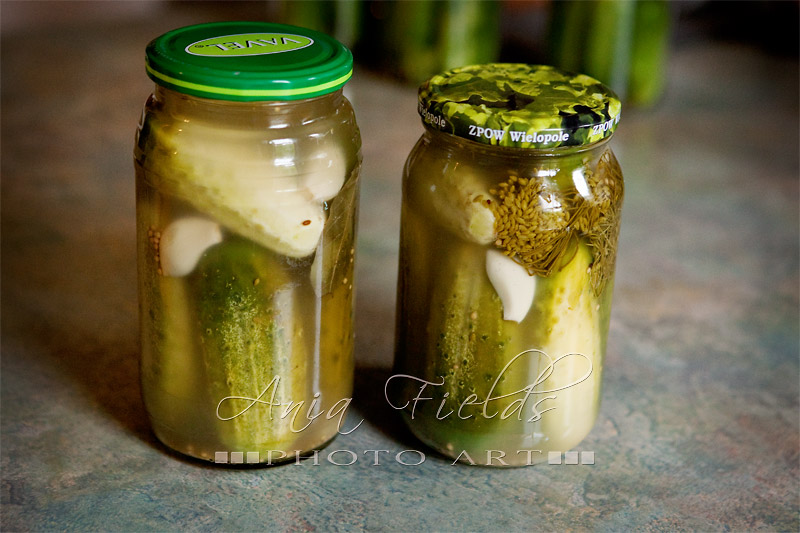
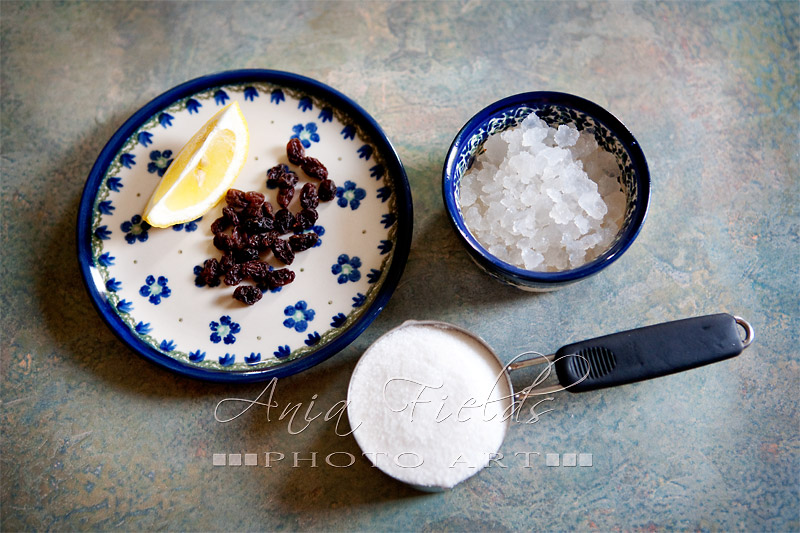
With our vegetable garden in full production mode and weekly CSA veggie shares from the Roots and Shoots farm we are getting quite a few perfect pickling cucumbers every week. So I thought I would share a recipe for Polish dill pickles in brine or in Polish – ogórki kiszone (oh-GOORR-kee kee-SHOH-neh). Those are not your typical vinegar cukes from the grocery store, instead they are… lacto-fermented pickles (of course 🙂 ) This means that they are full of good probiotic bacteria, vitamins, minerals and enzymes. In Poland in almost every household people prepare a lot of jars of brined pickles and then keep eating them until next summer. Yesterday I met with my friends from a local Holistic Moms group, we talked about different ways of preserving summer goodness and I promised to share my easy lacto-fermented pickle recipe on the blog so here it is…
Supplies:
- quart glass jars (or larger) with lids
Ingredients:
- pickling cucumbers – The best are small and medium ones and the best source is your own garden or organic. I think that the quality of cukes is really important, I tried twice to use store bought cucumbers and they didn’t turn out well
- 2-3 garlic cloves per jar (sliced in half)
- 2 dill stems with seeds per jar
- sea salt (1 table spoon per quart of water)
- filtered or spring water
Optional:
- mustard seeds (1 teaspoon per jar)
- a piece of horseradish root
- oak or sour cherry or raspberry or black currant leaves (3 -5 per jar)
HOW TO MAKE POLISH LACTO-FERMENTED DILL PICKLES
1. Start with washing the cucumbers with cold water and the jars with lids well with hot water. Some people recommend sterilizing the jars with boiling water and I do that sometimes, too.
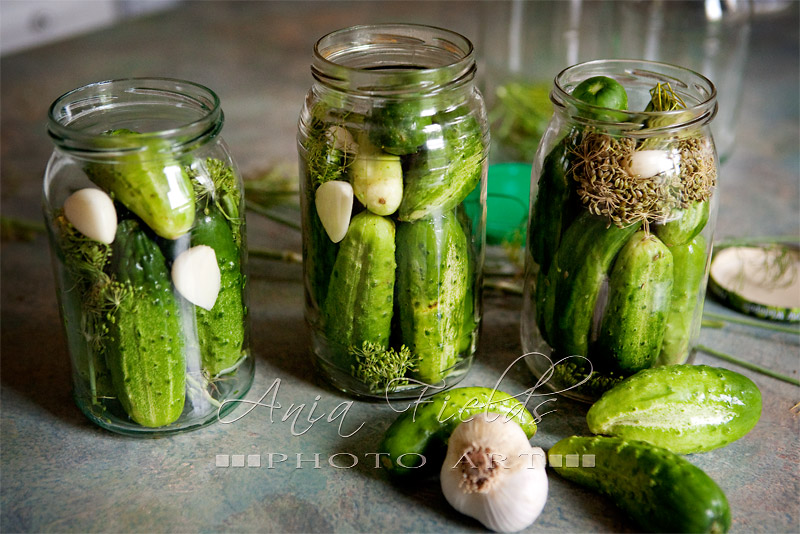
2. Put one dill stem with a seed head on the bottom of each jar.
3. Place cucumbers in jars making sure that they are tight and cozy 🙂 . This is probably the most difficult part of the entire process, it’s kind of like making a puzzle, everything should fit well.
4. Add 2-3 sliced garlic cloves and one more dill head to each jar. Optionally you may add a teaspoon of mustard seeds, a few leaves or a couple of pieces of horseradish root. I especially love using oak leaves because the tannins in them help the pickles stay crunchy throughout the winter.
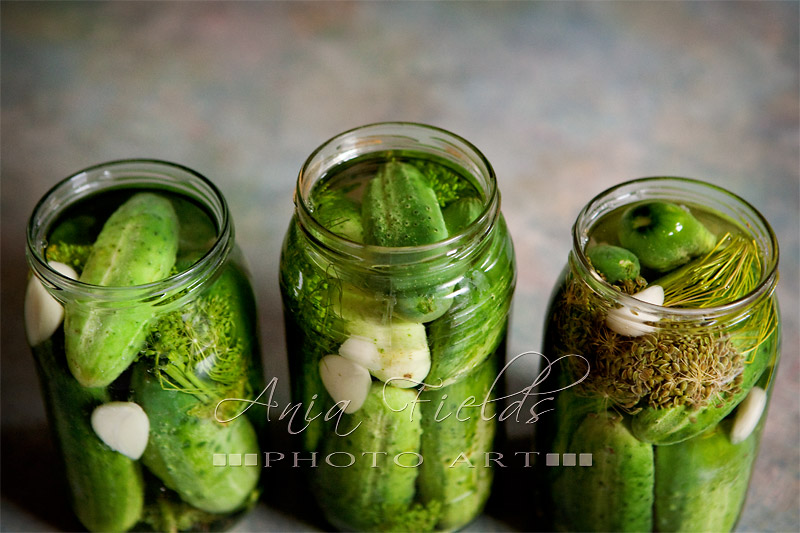
5. Dissolve the salt in filtered water, about 2 teaspoons per quart. You’ll need enough water to fill all the jars you are preparing. In season I usually make 1-3 jars at a time (as the cucumbers keep ripening in my garden) and for that I need between 1-2 quarts of hot salted water.
6. Turn off the water after it boils and pour hot into the jars to fill them almost to the brim. The cucumbers must be submerged fully, they should be tightly placed and shouldn’t float above the water level (otherwise they may spoil).
7. Cap the jars very tightly, turn them upside down and leave on the counter for 1-2 days. I discovered that when I use hot water and then flip the jars they don’t leak. I didn’t do that before and for several days I had to keep wiping the brine that was oozing from the jars as the fermentation started to take place. Now, when I turn them upside down, they are always dry.
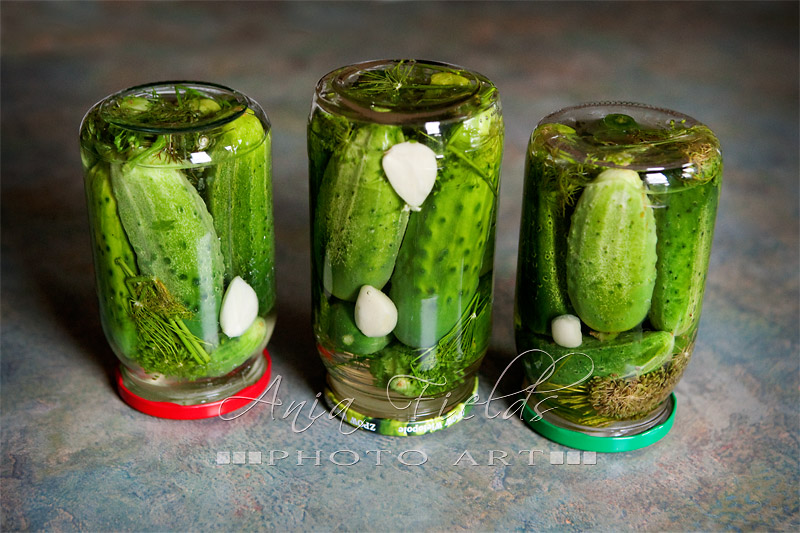
8. After a couple of days you’ll see the color changing and the brine will turn a little cloudy like in a photo below. This is all good! You may then place them for longer storage in the basement, pantry or some other cooler place. The pickles prepared that way will last until spring or even the following summer. When you open a jar and start eating your lacto-fermented pickles you’ll have to place it in the fridge afterwards.
Following exactly the same lacto-fermented pickles recipe you may also prepare a batch for an immediate use. In Polish these are called ogórki małosolne, which literally translates as “lightly salted pickles”. I always do that with the first cucumbers of the season. For that I use a ceramic container instead of jars with lids. It’s very important that during fermentation the cucumbers are fully submerged in brine. They do like to float to the top so it’s important to press them with a small plate or a tiny jar filled with water or a zip-lock bag filled with some water. These pickles are good to eat after 3-4 days. You can ferment them on the counter for up to 5-6 days and then put them in the fridge. They’ll be crunchier and less salty than those from the jars. Here is a photo of my first batch… We love them as a snack, in sandwiches, salads or as a side dish with any meat.

I hope that you’ll try my easy lacto-fermented pickles recipe and will like the results. Let me know if you have any questions, I’ll be glad to help. 🙂 And if you like the results you may try my other lacto-fermented recipes for kombucha, beet kvass, lacto-fermented vegetables or water kefir. Enjoy!
click here to check out more delicious recipes
come visit my website
say hello on Facebook
call me: 608-643-2642


Corinne and Joe chose two different nature conservancies in Middleton WI as locations for their engagement photos. We met on one of the hottest and most humid days of this summer. With tight schedules and their wedding coming very soon we didn’t really have an option of waiting for a cooler weather. They were both absolutely awesome braving the heat and swarms of mosquitoes. I was completely drenched but you can’t see even a drop of sweat on their faces 🙂 Protected with some insect repellent we attempted a little hike into the woods in search of perfect spots but had to turn back because all the insects loved our skin too much. The second location with open fields and wild prairie was much better, the wind there provided a nice relief. Cori and Joe didn’t pay much attention to all the external challenges and were beautifully into each other, loving and full of affection. You can almost feel the love in their engagement photos. I can’t wait for their Wintergreen Lodge in Spring Green, WI wedding next month!


take a look at more engagement photos
come visit my website
say hello on Facebook
or call me: (608) 643-2642

Andy is with Senior Class of 2014 at James Madison Memorial High School in Madison WI. He’s bright, well spoken, thoughtful and quite a natural in front of the camera (he also reminds me a lot of Colin Firth 🙂 ) Andy loves music (he taught himself how to play the guitar in one day!) and his dream is that in the future he’ll be able to have a career path following this passion. I sure hope he’ll keep pursuing this dream. We met in one of Madison parks for his senior portraits and found quite a few perfect picture spots. Below are a few of my favorite images from this session. Thanks for a great session, Andy! Have a great senior year, I wish you the very best!
click for more Madison senior portraits
come visit my website
say hello on Facebook
or call me: (608) 643-2642


I was thrilled when Thoa contacted me to create first anniversary portraits for her and her husband. I immediately suggested a Beloved session and she really liked the idea. Beloved photography focuses on a relationship and celebrating love. It’s about showing love, feeling love and being loved. It’s about capturing the real you, free of self consciousness and really, truly in the moment. Perfect choice as an anniversary gift for each other! And at the same time a beautiful experience for both my clients – my muses and for me as a photographer. I invite them to interact with each other in a genuine and sincere way. I encourage them to be themselves and do my best to capture those real emotions with my camera. We met in one of Madison WI parks, the location, the weather and the light were perfect. Thoa and AnHai beautifully connected with each other in front of my lens and here are just a few of Beloved portraits that show their love and how they are together. Enjoy!
PS. If you feel like you’re up for a fun, feel good Beloved photographic adventure that celebrates your love give me a call (608-643-2642) and let’s make it happen. It doesn’t matter if you’ve been together for several months or 50 years 🙂
take a look at more beloved sessions
come visit my website
say hello on Facebook
or call me: (608) 643-2642


Just one photo from our camping vacation at Warren Dunes State Park – magical sunset on Lake Michigan…

come visit my website
say hello on Facebook
call me: 608-643-2642

 LOCATION: Darlington WI, wedding
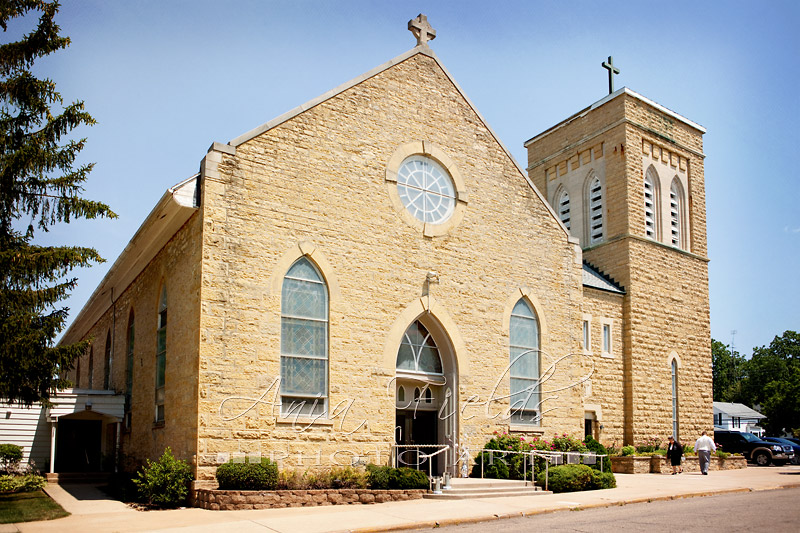
CEREMONY: Holy Rosary Catholic church
RECEPTION: Bridges Restaurant, Lounge & Banquet Center
FLORIST: Jason from Chateau325
CAKE ARTIST: Gigi’s Cupcakes
DJ: Midwest Sound
This was my first Darlington WI wedding. This is where both Kristi and Eli come from and it seemed like a big part of this quaint Wisconsin town was at their wedding. With almost 400 guests and a huge wedding party this was hands down the largest wedding I’ve ever shot. The beautiful Holy Rosary Church in downtown Darlington where the ceremony took place was just filled with people. After the ceremony the whole bridal party headed to the nearby court steps for some fun shots. And the bridal party sure was something! Just see below how large it was! We then continued with just Bride and Groom for some more shots in several locations on charming Main Street. The entire week prior to the event was super hot but the heat wave ended on that morning and the day was just perfect for wedding photos. After the photos it was time to party, first a short stop at a local bar and then everybody headed to the Bridges Restaurant, Lounge & Banquet Center in Darlington for the wedding reception. Kristi and Eli, thank you for trusting me to capture your day! It was so fun working with you, your families and friends. I know you’re busy enjoying your honeymoon in Bahamas right now but hopefully you’ll get a free moment and some internet access to see these sneak peeks. 🙂 Enjoy!


take a look at more wedding photos
come visit my website
say hello on Facebook
or call me: (608) 643-2642

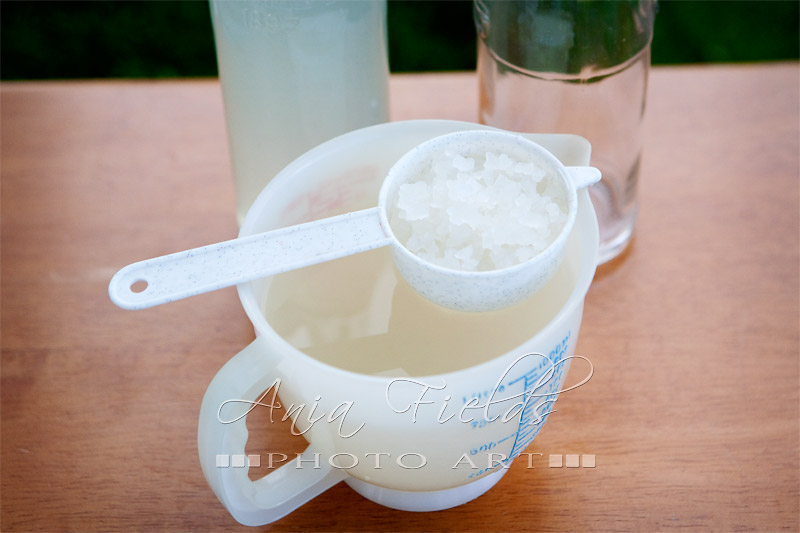
Today I’d like to share with you a water kefir recipe. It’s a delicious lacto-fermented drink that I discovered just two months ago and have been making ever since. If you follow this blog you may know that our family loves kombucha and we’ve been brewing it for several years. Well, it’s hard to believe but I think we now like water kefir even more! It’s even easier and faster to make, has a milder taste, can be flavored any way you like, wonderfully quenches thirst on hot summer days and it really tastes like delicious soda. But it’s way healthier of course because of all the probiotic goodness.

What do you need to make water kefir?
EQUIPMENT:
- half gallon mason jar
- piece of fabric or coffee filter and rubber band to cover the jar
- small plastic strainer
- glass flip top bottles (from a brewing supplies store or old fashioned lemonade)
INGREDIENTS:
- 4-6 table spoons of water kefir grains – I got mine from a friend and if you live nearby I can share mine with you. If you are far you can do a search online and there are some places where you can buy them. They are not real grains at all, they look more like jelly crystals or soft rock candy.
- 1/2 cup sugar (raw, cane or white)
- about quart and a half of filtered or spring water -if you don’t have filtered water you may boil regular tap water as it helps to reduce chlorine. Remember to cool it down before adding to water kefir grains. If you have reverse osmosis you may add a piece of clean egg shell to the jar to add back minerals to your water.
- optional: a few drops of molasses (for minerals), a quarter of lemon, dry fig, raisins, fruit juice concentrate, fruit syrup, mint sprigs, ginger

How to make water kefir? Just follow this easy water kefir recipe and feel free to experiment with different flavoring options.
- Put kefir grains into a half-gallon mason jar.
- Warm up a cup of water, add the sugar and stir until it dissolves. Combine sweet warm water with the rest of cold water and pour over the kefir grains. Don’t fill the jar completely, leave an inch or so of air.
- If you like you may add a wedge of lemon, raisins, a dried fig or a few drops of molasses to the jar. I switch from batch to batch, sometimes I don’t add anything at this stage.
- Cover with a cloth and leave on the counter for 1-2 days. Not longer than that because the drink may taste too yeasty afterwards. I always put some masking tape on the jar and make a note of the date. That way it’s one less thing to remember 🙂

- After two days strain the grains through a plastic strainer (I’ve read that metal ones may harm the grains). Put your strained grains back into the jar and add sweet water and cover it with a cloth for a second batch. Pour the strained liquid into bottles, cap them well and leave for another day or two on the counter.
After the first fermentation the drink will still taste a little sweet. You could drink it now, however when you bottle it first it will go through the second fermentation and produce natural carbonation. And that’s the best part of water kefir soda. Sometimes the bubbles can get really wild (especially when it’s hot outside) so be careful when you open your bottles as the drink may explode and your kitchen will be sprayed with kefir. It did happen to us twice. To avoid it you may release the pressure from time to time by gently opening the tops during fermentation. I also always open bottles in the sink with a glass ready nearby.
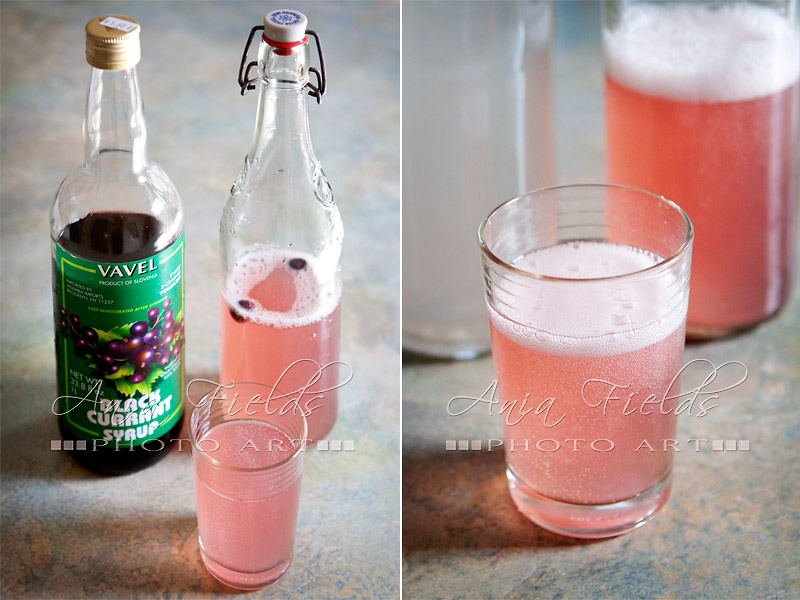
When you pour water kefir into bottles (after the first fermentation in a jar) you may also flavor it at the same time. There are many ways to flavor water kefir. I like adding some lemon juice and a sprig of fresh mint. A slice of ginger tastes well. A little bit of fruit juice or fruit juice concentrate works great (cherry, grape, raspberry). I also use fruit syrup or a few pieces of frozen fruit like blueberries or raspberries. These bottles below where flavored with blueberries, black currant syrup, mint and lemon juice.

After one or two days in the bottles the kefir is good to drink. If you don’t want to drink it immediately you should put it in the fridge to slow down the fermentation. It also tastes better when it’s cold. If you keep it on the counter the bottles may crack and explode. We drink at least one bottle a day in the summer so we haven’t had that experience yet, but I read online that it happens. If you tried kombucha before and were not a fan of it I encourage you to give water kefir a try. It’s milder and a little sweeter and it’s very likely that you’ll like it a lot. 🙂 If you feel brave and want to try something completely different (but still lacto-fermented) check out my beet kvass recipe. Have fun experimenting!
click here to check out more delicious recipes
come visit my website
say hello on Facebook
call me: 608-643-2642

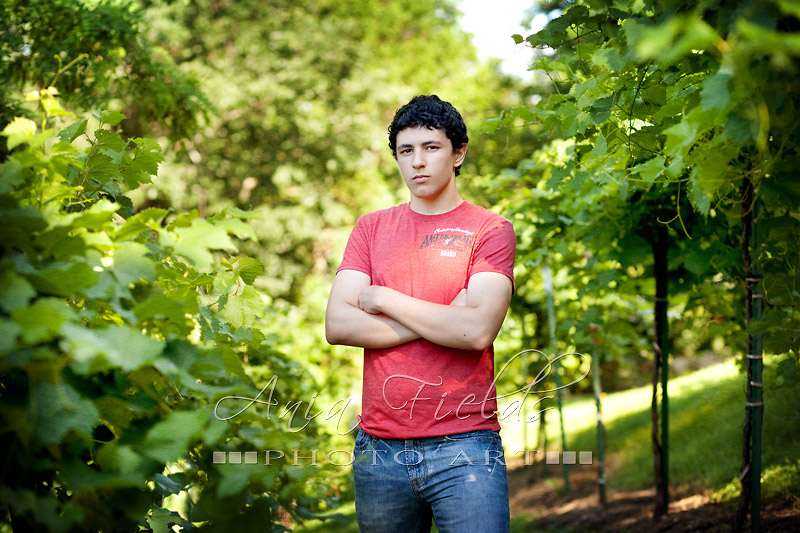
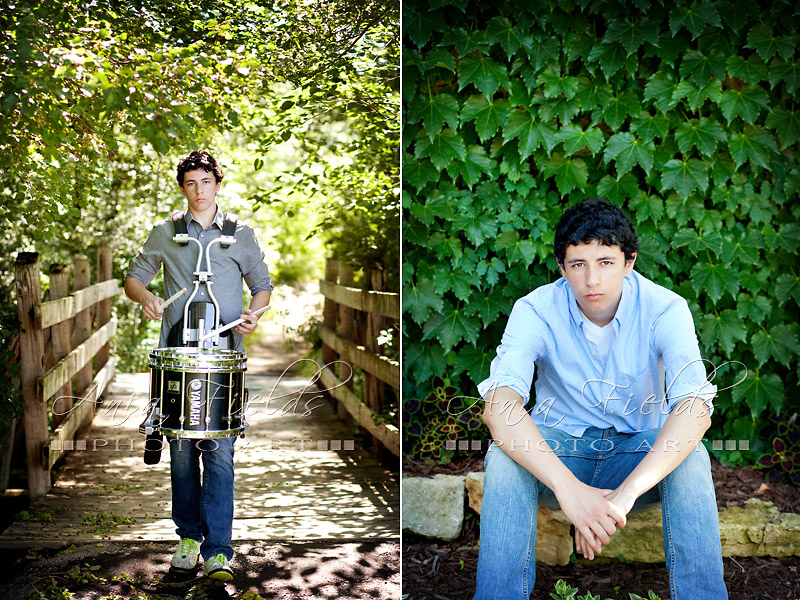
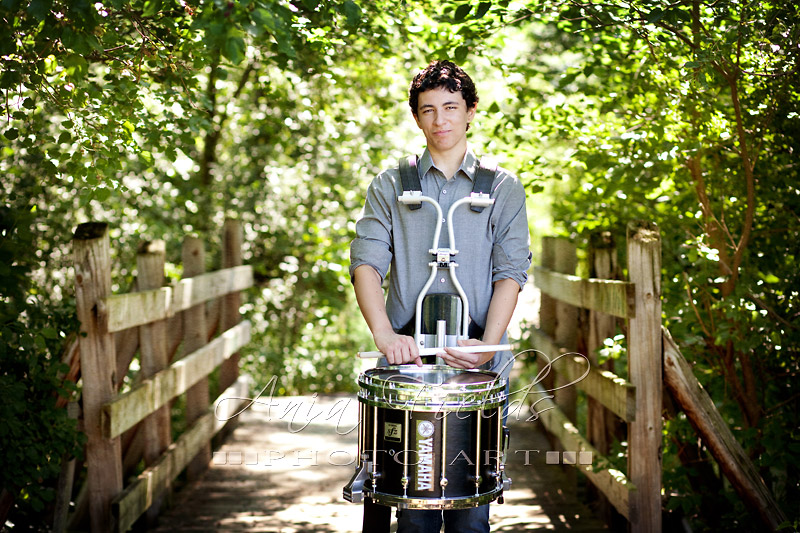
Michael is soon going to be a senior at Sauk Prairie High School and his dream is to become a calculus professor. At first you might think that he is a very serious guy, so it was interesting to watch him open up during his session and show his funny side as well. Michael chose the winery for his senior photos. We started there early in the morning, it’s a beautiful place with lots of cool backgrounds and perfect the morning light. After the winery, we finished his session by the river with some drumming shots. Michael is a very motivated young guy and I’m sure that he’ll be off to some amazing things in his life. Who knows, a mathematical theorem might be just one of them. 🙂 Here are some senior photos from his session.


take a look at more senior photos
come visit my website
say hello on Facebook
or call me: (608) 643-2642

Recently I met with these two beautiful ladies who were looking to update their professional headshots. Carolyn needed a few headshots for her new website and Jenny wanted a new LinkedIn profile photo. They were both interested in images that are more relaxed and with a natural feel. Here are a few of my favorites from these sessions. We shot them outdoors on location in natural settings. Are you looking for a headshot photographer in Madison WI area? Do you need a new great contemporary business headshot for your website or to use on social networking sites? If yes, give me a call at 608-643-2642 or contact me at aniafields@frontier.com. Let’s make it happen 🙂


Click here for more professional headshots
say hello on Facebook
or call me: (608) 643-2642


LOCATION: Clyde near Spring Green WI
WEDDING COORDINATOR and FLORIST: Jenny Sligh of Lavender Hill Weddings and Events
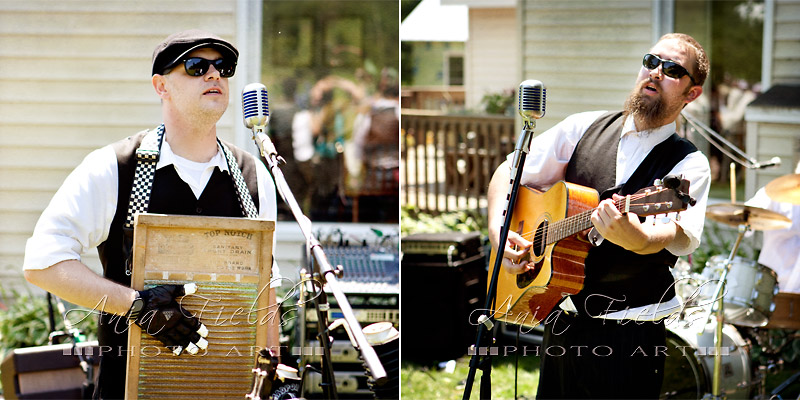
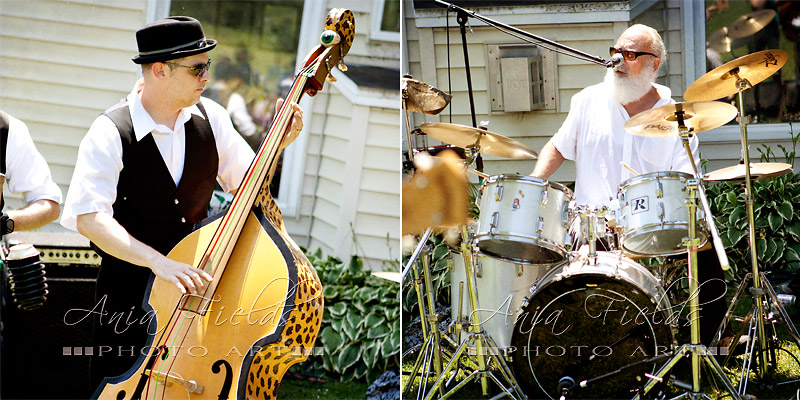
BAND: The Madpolecats
CATERER: Fat Jack’s
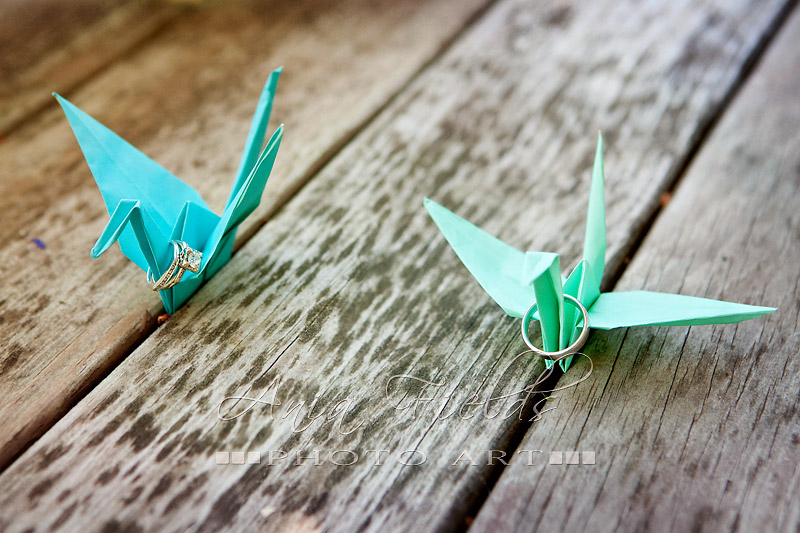
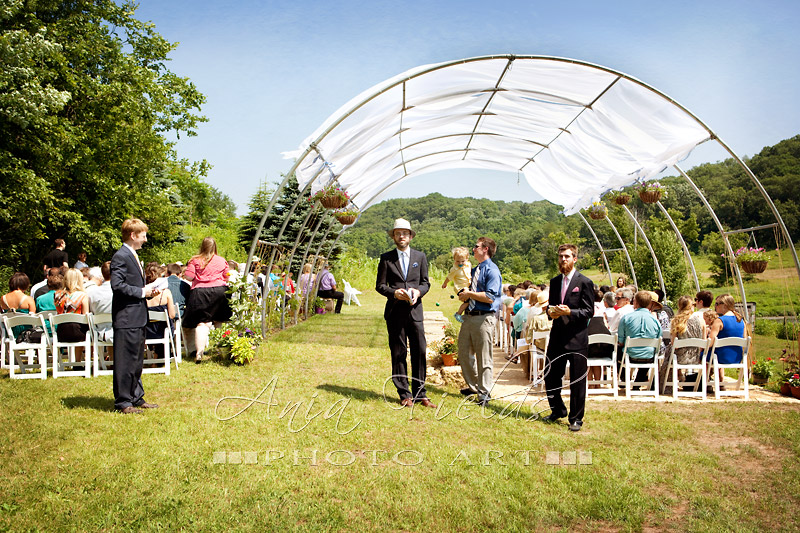
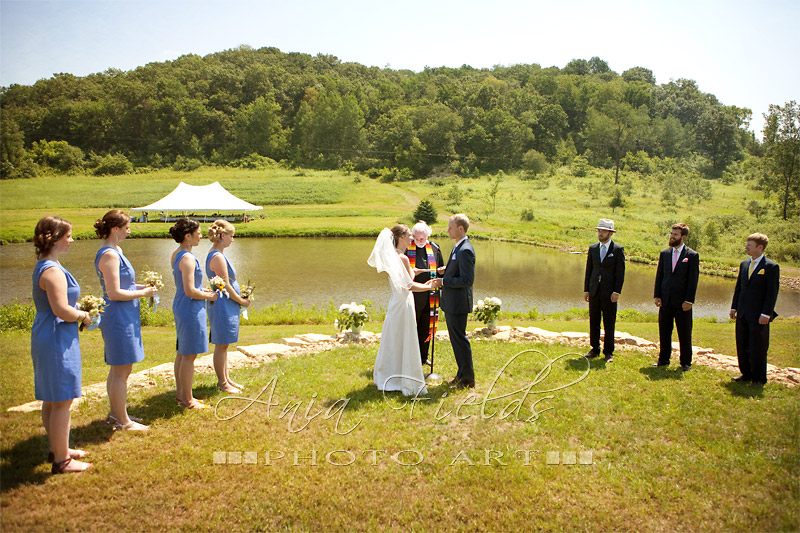
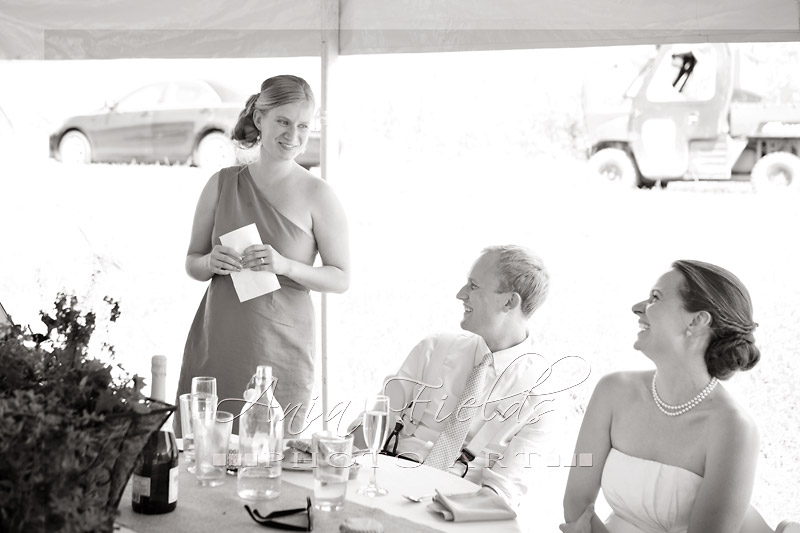
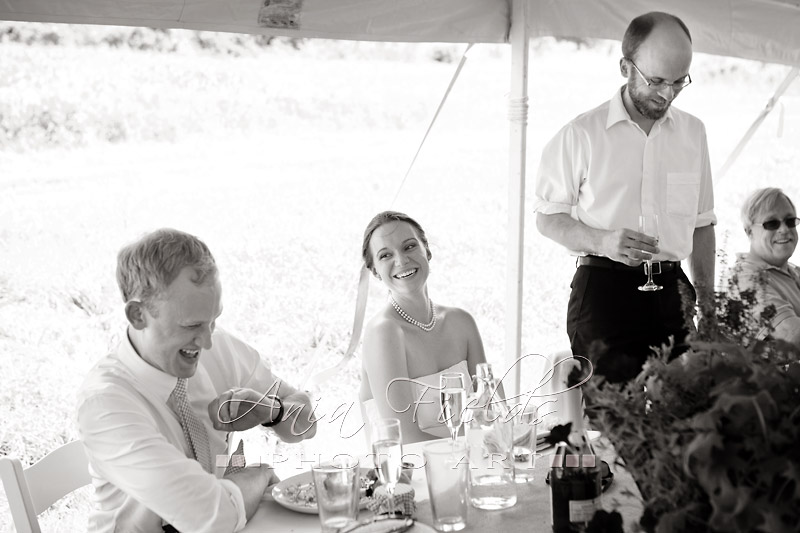
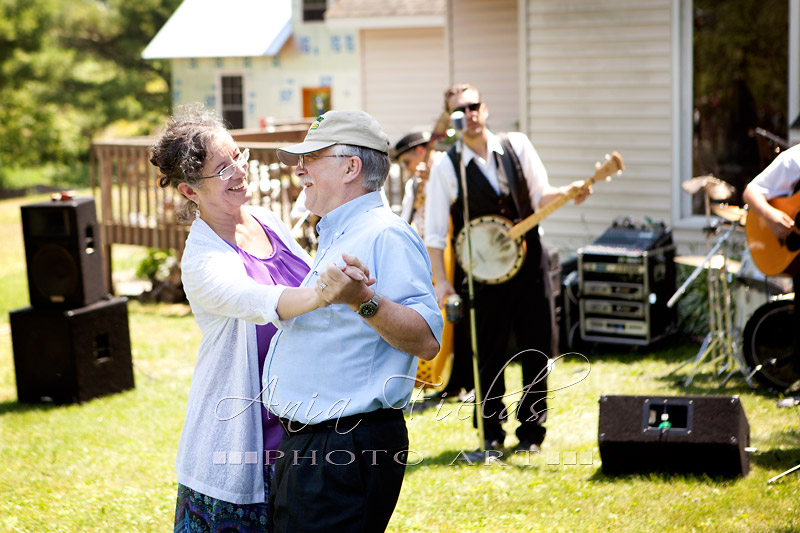
Elsa and Kurt chose Elsa’s parents’ property nestled beautifully among the rolling hills of Spring Green area for their Wisconsin backyard wedding. This location holds a special place in their hearts, because this is where Kurt proposed. It’s also where we shot their engagement session last fall. When we met a week before their big day, we were concerned that because of the heavy rains and lots of mud the event would have to be moved to a different location. Fortunately the grounds dried out and everything could go as planned. It was a perfect summer day. Family, friends and Elsa and Kurt’s bright smiles filled it with joy and happiness. It definitely wasn’t a very traditional wedding. Everything started early in the morning, there was lunch instead of typical dinner, no cake cutting but ice cream bars instead and no first dances, although there was awesome live music by a Madison band The Madpolecats. The entire wedding had more of a backyard garden party feel to it and everybody had a chance to just enjoy the company of others.
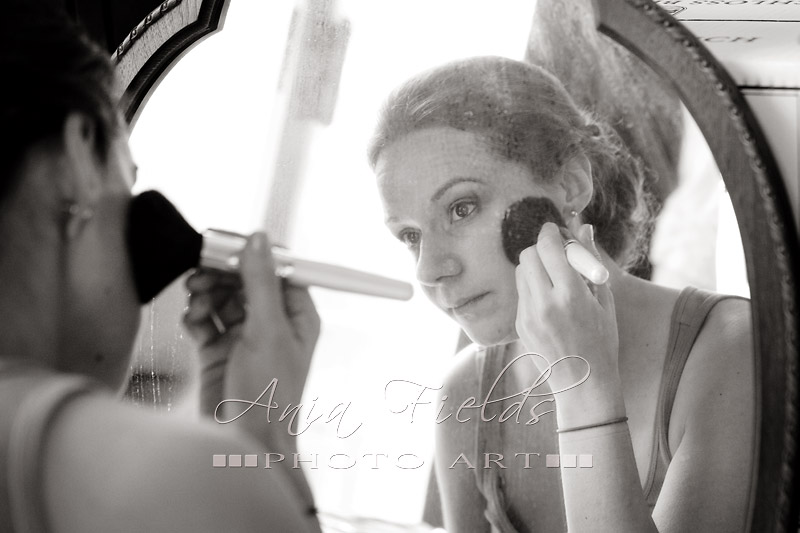
We started with Elsa getting ready in her favorite bedroom in the house. She looked stunning in her simple but gorgeous silk wedding dress. After putting on her mother’s pearls and a veil she was ready for “the first look” photos.


Elsa’s wedding coordinator, Jenny Sligh of Lavender Hill Weddings and Events, chose a perfect spot for the couple’s first look. It was a peaceful path on a hill behind the house. Jenny led Kurt there and a moment later Elsa came with me. I love “first looks”! Very often this is the only intimate moment that the bride and groom have on their wedding day and it is always such a joy to be able to capture those first emotional expressions when they first see each other… We continued with wedding party photos and were done with them just in time before the wedding guests started to arrive.


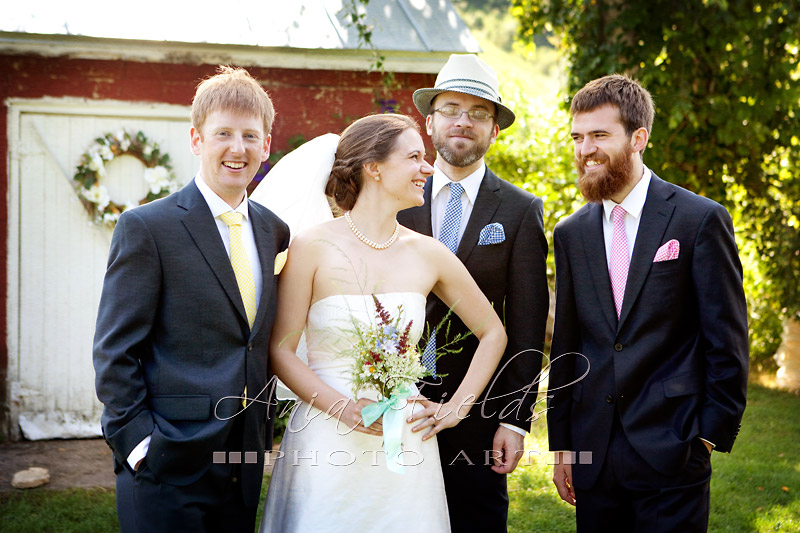
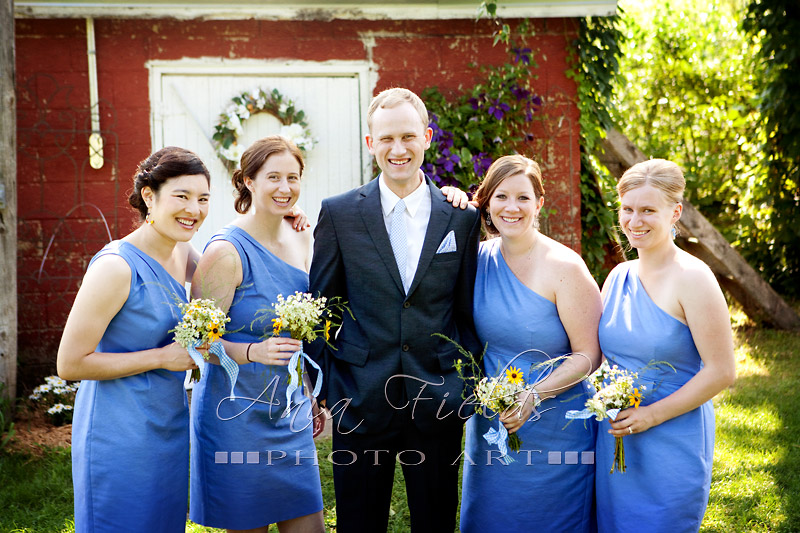


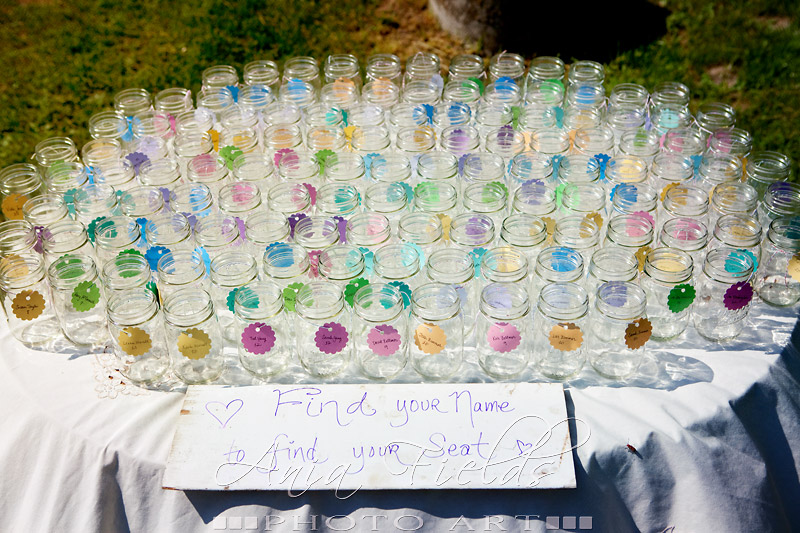
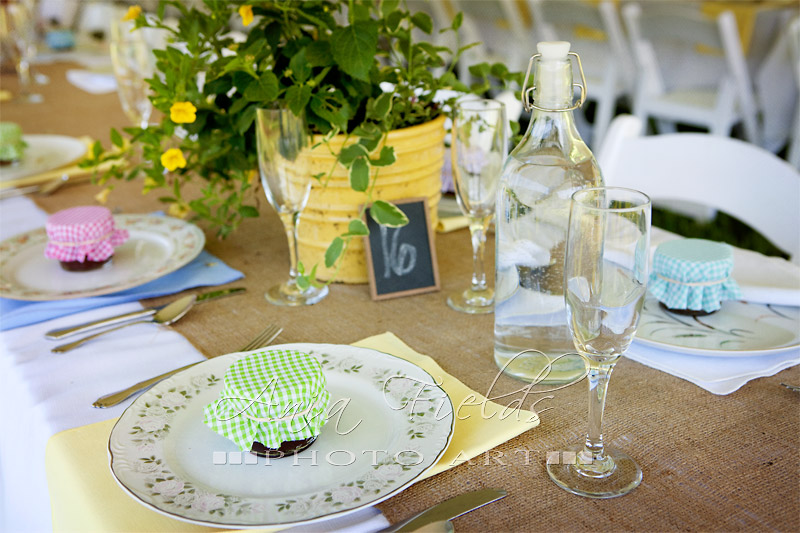
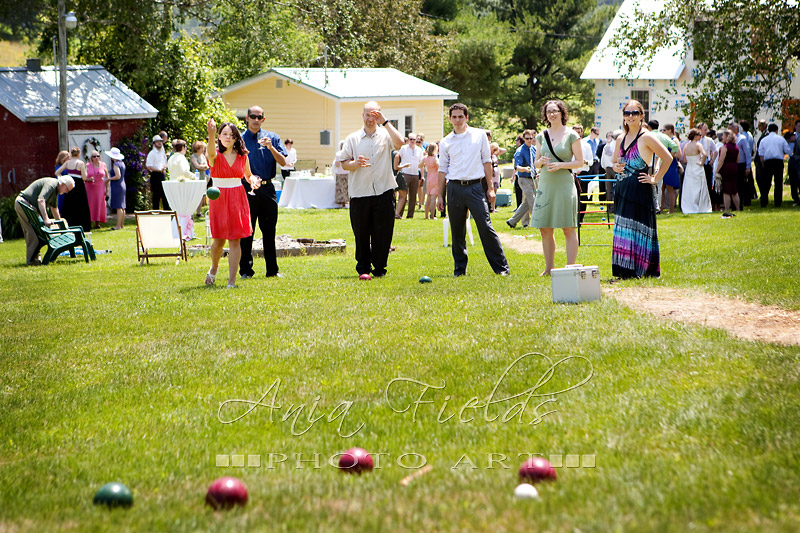
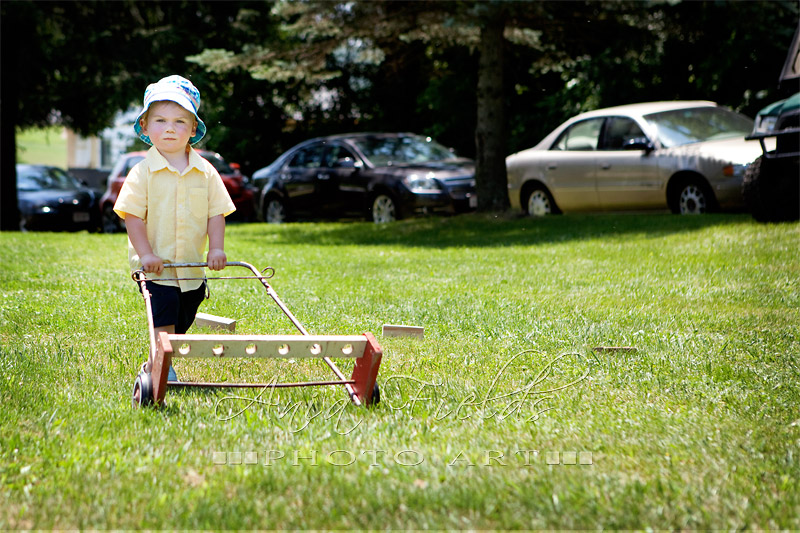
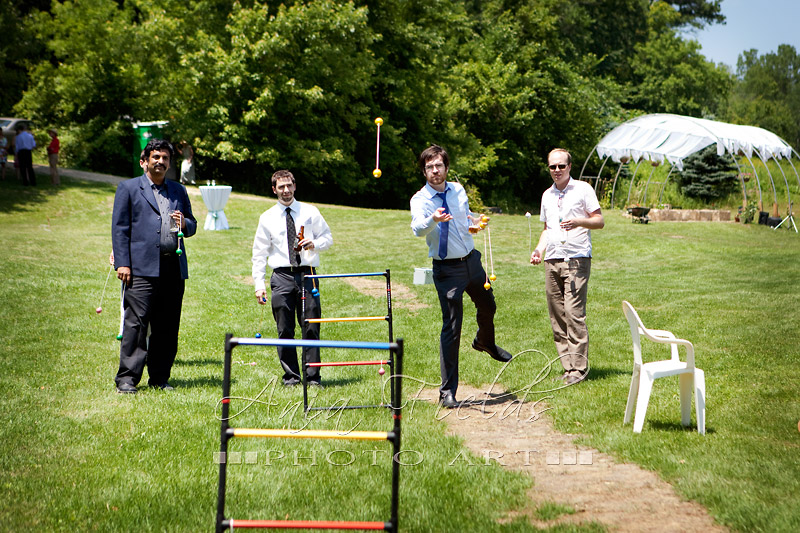
After a moving (and sometimes funny) outdoor wedding ceremony it was time for more family portraits. And then the cocktail hour with hors d’oeuvres, live music and lawn games followed. For wedding lunch everybody walked to a tent set up between a pond a wooded hill. I loved how he tables were set up with a different plate for each guest. This beautiful idea went perfectly with a casual but at the same time elegant atmosphere of this Wisconsin backyard wedding.
Elsa and Kurt, thank you for having me document your day. You are an amazing couple, just perfect together and I know you have many many happy years ahead of you! Keep smiling!


take a look at more wedding photos
come visit my website
say hello on Facebook
or call me: (608) 643-2642
Leave A Comment