How to Create Your Own Photo Wall Display – Prairie du Sac, WI Photographer
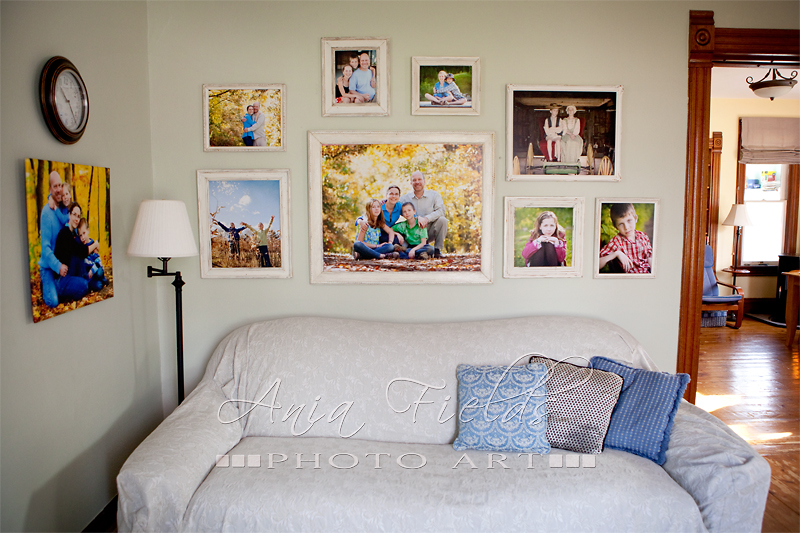
Winter officially arrived with a huge storm and we are now beautifully covered in deep snow here in Wisconsin. Yesterday was the first snow day and we spent the day shoveling, warming up by our pellet stove and snuggling on the sofa watching movies. This last spot (our sofa) has recently become one of my favorite in our house. And the reason is that this month I finally found the time to finish a decorating project that was started back in the spring (and I have been thinking about it for over a year prior to that). There is a saying in Poland, “the shoemaker always goes barefoot” (I think the English equivalent would be “the shoemaker’s children are ill-shod”). I must admit that I felt a little that way regarding wall portraits of our family. We do have some wall art around the house but I was always dreaming about a beautiful wall display of images that would warm up the room and make a huge impact. I am happy to tell you that we finally have one 🙂 Here is how it looks:
I would love to inspire you to create a similar wall collection for your house, as it really is something special. I smile each time I enter the room now and can’t help but feel the love. 🙂
HOW TO CREATE YOUR OWN PHOTO WALL DISPLAY
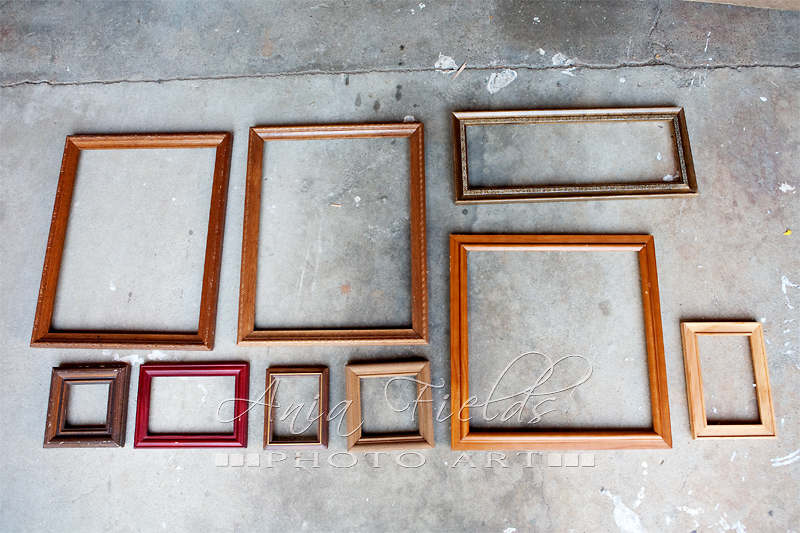
For years I’ve been collecting interesting frames. I would buy them at garage sales or thrift stores and then refinish them all in the same way using this awesome distressed ivory kit I bought. The kit gave the frames a unified, distressed look that goes perfectly with our old house. The entire project took several months because I had a lot of frames to refinish and it involved quite a lot of my time. With summer and fall being my busy seasons it had to wait for finishing touches until now. Here are some of the frames I had collected and remembered to photograph before repainting them. They are not exactly the ones I used for our wall grouping but just wanted to give you an idea how they looked before:
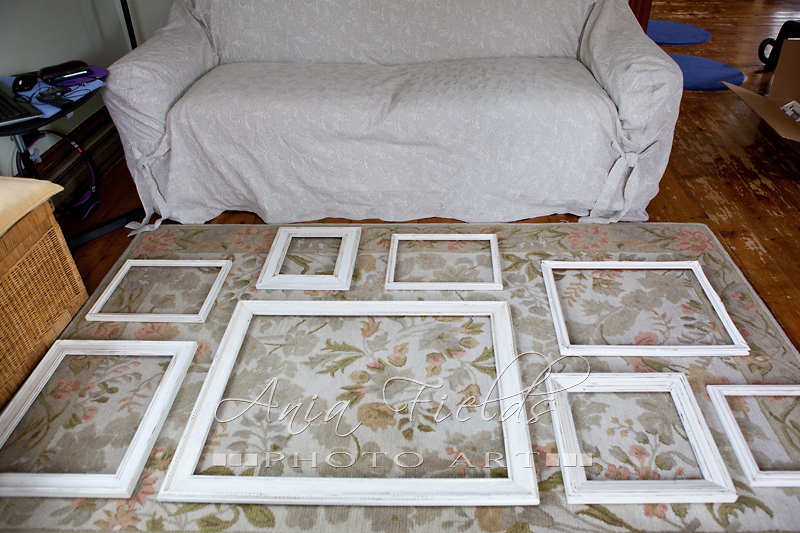
When I had all the frames refinished I played with choosing the most interesting ones and arranging them in different configurations on the floor in front of the sofa. It took some time to come up with a cohesive, coordinated and balanced look. After trying out quite a few groupings this was the arrangement I liked best:
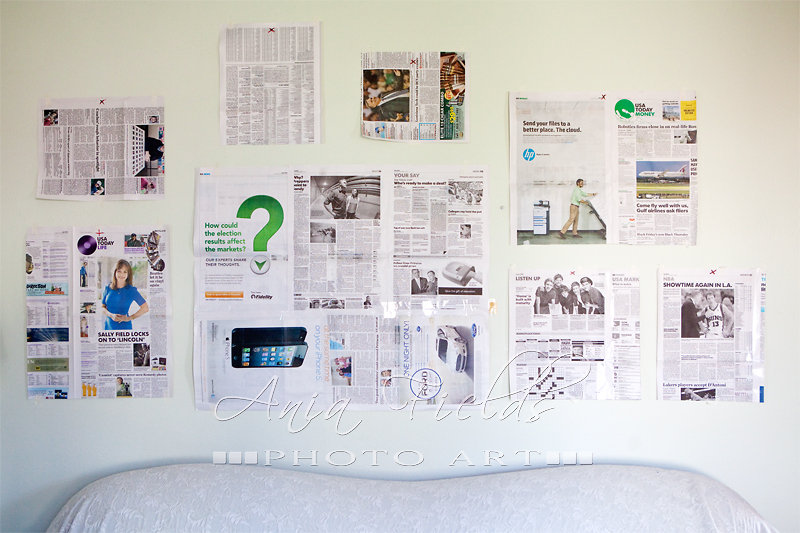
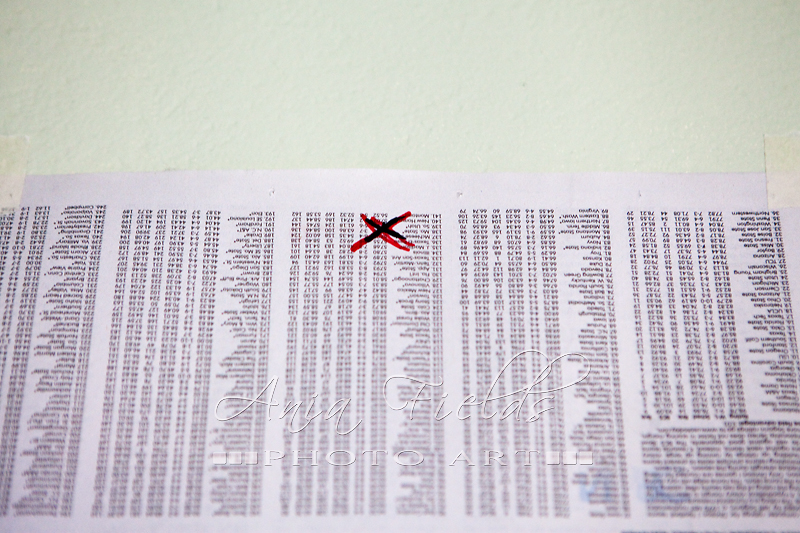
The next step was tracing the frame shapes on a newspaper (Kraft paper would work great, too), cutting them out and taping them on the wall with clearly marked spots for the nails. This helped tremendously with pounding the nails the right way the first time and saved the wall from misplaced nail holes…
After the nails were in I removed the newspaper pieces, set our photographs into the frames and hung them on the wall. To secure the frames I always add a small dot of 3M putty on the bottom edge. It keeps the frames in place and helps to prevent them from tilting.
I admit that creating this beautiful photo wall display took some time, but the results are so worth the effort. We now have a wall that makes a statement. It’s all about us. It’s memorable and I just love having our happy memories up on the wall. I hope this inspires you to create a similar photo wall grouping in your home, too (and if you are looking for more ideas please check this board on Pinterest)
Wishing you and your family a wonderful Holiday Season and a Happy New Year! See you back on the blog in January 🙂
PS. Update: here is a link to our updated gallery wall with new paint color and Command strips used instead of nails.
take a look at more family photos
come visit my website
say hello on Facebook



Comments
One Response to “How to Create Your Own Photo Wall Display – Prairie du Sac, WI Photographer”Trackbacks
Check out what others are saying...[…] my own family. A while ago I already wrote a blog post about how I refinish old frames and designed this photo wall display in our living room. We recently repainted the room (and decided to go for quite a brave choice of pink, but […]