
Our Photo Gallery Wall and Command Picture Hanging Strips Review

Today I wanted to share with you a recent photo project I did in our home and a new discovery that made the whole task super easy. As you may already know, I love the idea of decorating with photographs. This is what I do not only for each of my clients but also for my own family. A while ago I already wrote a blog post about how I refinish old frames and designed this photo wall display in our living room. We recently repainted the room (and decided to go for quite a brave choice of pink, but we’re happy with it :)) and afterwards I decided to update the art work as well. I had some newly refurbished frames ready and beautiful images from our fall family session with Christina Beam Photography. The biggest challenge I had last time was with our old plaster wall and misplaced nail holes. But this time I discovered Command Picture Hanging Strips from 3M and these little things work like magic for hanging frames, canvases, standouts, any artwork really. I know I am late to the party and most people probably already know this product but in case you don’t I wanted to share my discovery with you. This is how the strips look:
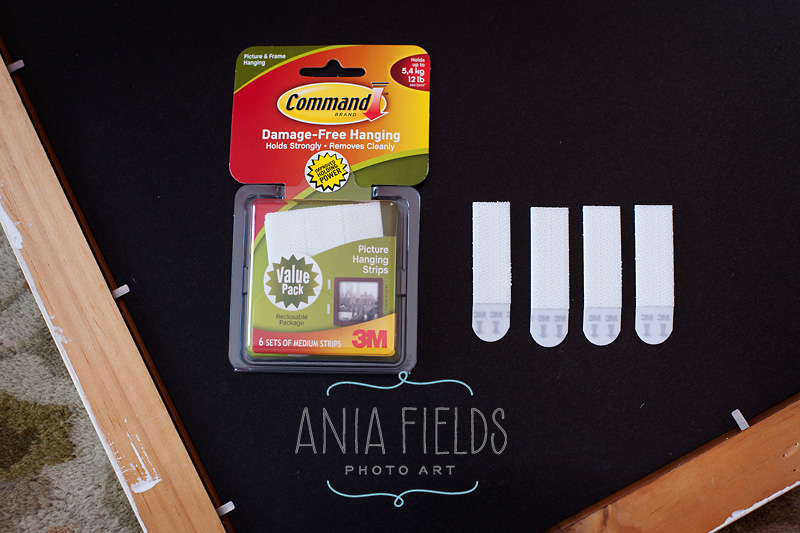
Command Picture Hanging Strips work like velcro, they are super strong and super sticky and, depending on the size, can support up to 16 lbs! What’s great is that you can remove them from the wall without any damage. So you can rearrange, swap the sizes and orientations of frames as often as you like without leaving even one mark on the wall. And they are also very easy to use! Here are all of my supplies I gathered for the project:

With dozens of frames we have around our house, and considering how often I change photos in them, I decided to invest in this Logan point driver. With it securing a print in a frame takes about 15 sec!

After I had all the photographs securely framed, I turned the frames upside down on a rug and cleaned their corners with rubbing alcohol. While the alcohol was drying I separated the strips. For one frame you’ll need at least two pairs of strips. Here you can see two sets, one of them pressed together until it “clicked”.
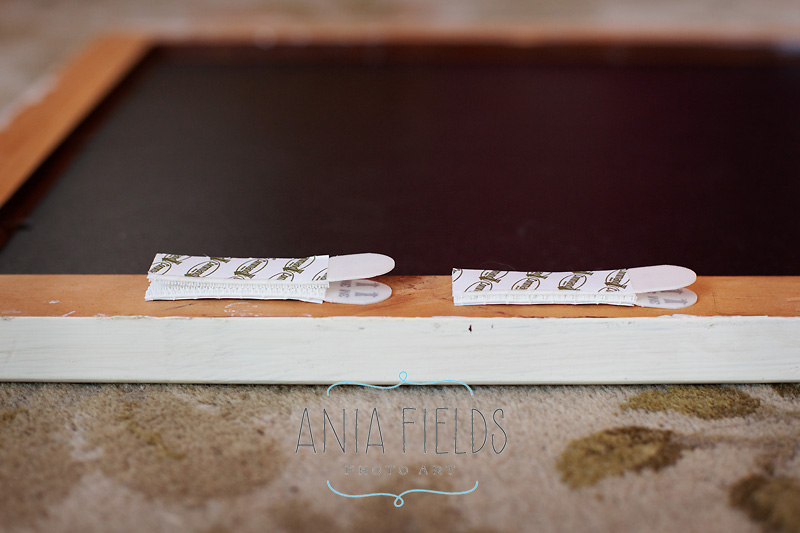
Then I peeled one liner from each pair and firmly pressed the strips for 30 seconds to the back top corners of a frame.
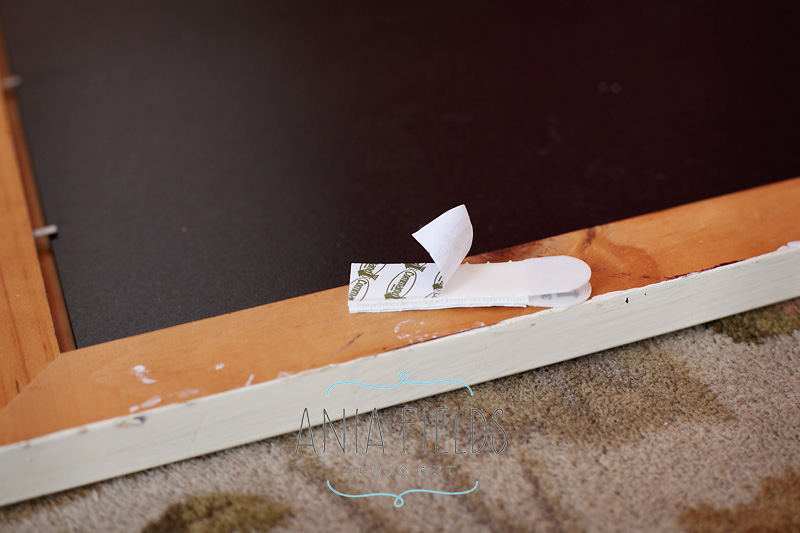

Next I removed the other liners and positioned the frame onto the wall. I placed a small level as a guide on each frame to make sure everything was straight and once more pressed firmly for another 30 seconds. Even though it looked perfect on the wall it’s recommended to remove the frame (by peeling off from the bottom!), press the strips on the wall and wait one hour before hanging pictures again.
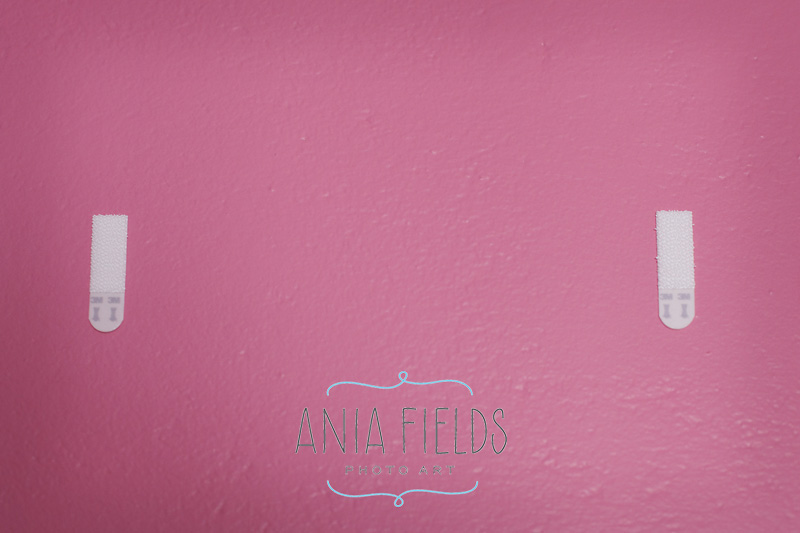
To mount the artwork, I lined up the frames with the strips on the wall and pressed firmly together until they snapped. If for any reason a photo didn’t seem leveled I re-positioned it as necessary. As you can see the pictures are almost flush with the wall and totally secure. No more crooked frames!

I used this blue painter’s tape to mark a border where I wanted all my frames to line up above the sofa.

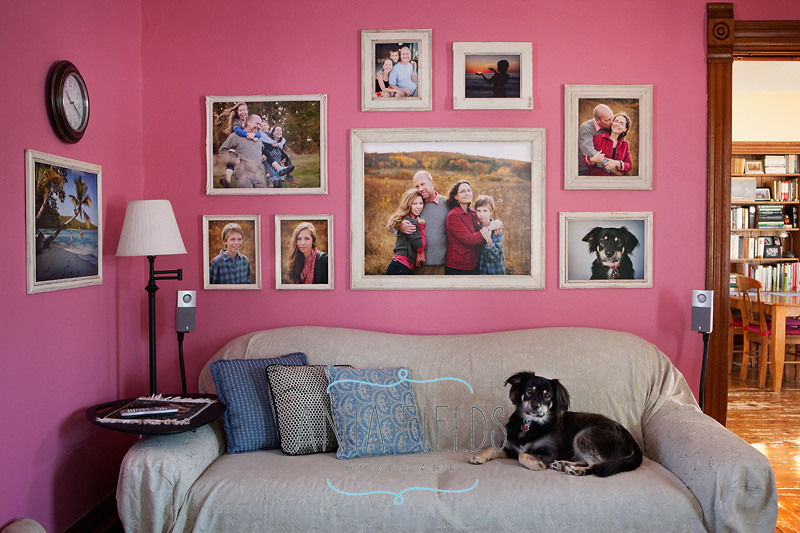
In total I had nine photographs to hang. Decorating a large wall can be a challenge but I used a special design program on my computer (the same that I use during my ordering meetings with clients) and created a mockup of all the framed photographs on my wall. After rearranging them a few times I designed a grouping I really liked and was confident that it will look perfect in our room. The other way to do it would be to lay all the frames on the floor and arrange them so that they create a balanced look.
And here is the final result! I hope this post inspires you to create your own photo gallery wall. If you do, I know it will give you a smile each day when you look at it 🙂
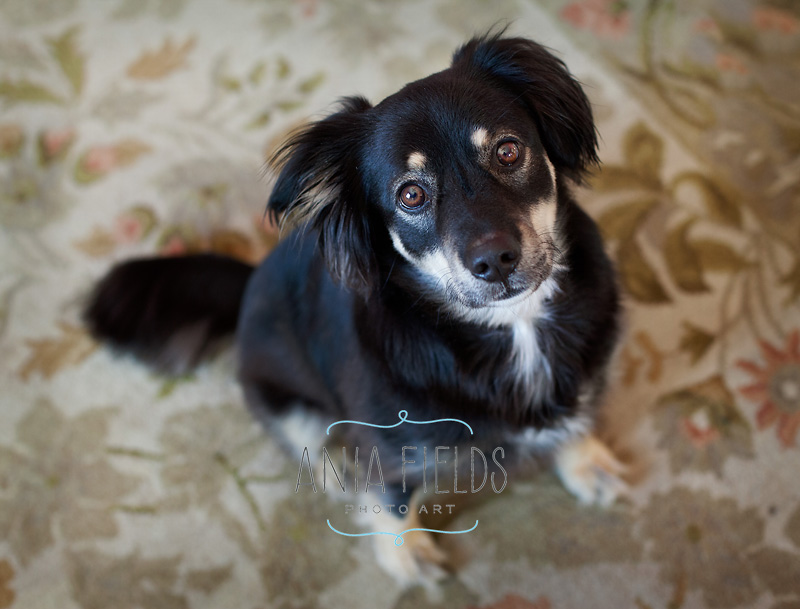
And here is my curious companion who was watching the entire project…
click here to see more photos
visit my website
say hello on Facebook
or call me: (608) 643-2642
Comments
One Response to “Our Photo Gallery Wall and Command Picture Hanging Strips Review”Trackbacks
Check out what others are saying...[…] Update: here is a link to our updated gallery wall with new paint color and Command strips used instead of […]